TM

“Miss Fear on a Sunday Morning” – Stages of a Detailed Drawing
While our work process, approach, and personal preferences when drawing may vary, there is always value to be found in observing others at work. Adjusting and adding new techniques, materials, tools, and ideas to our own work process is invaluable, especially when working on a challenging piece.
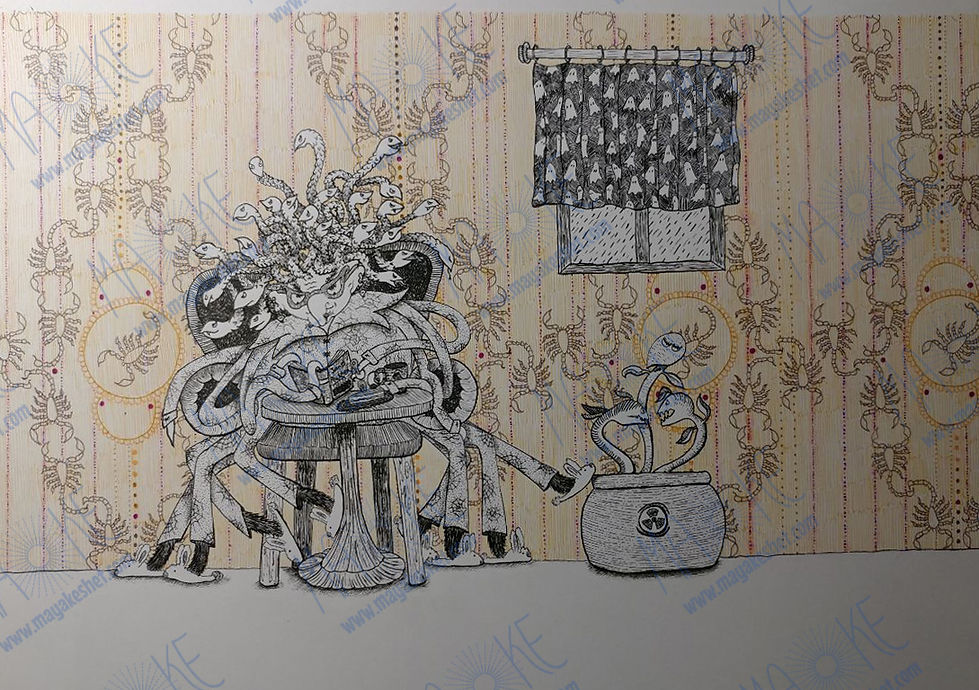
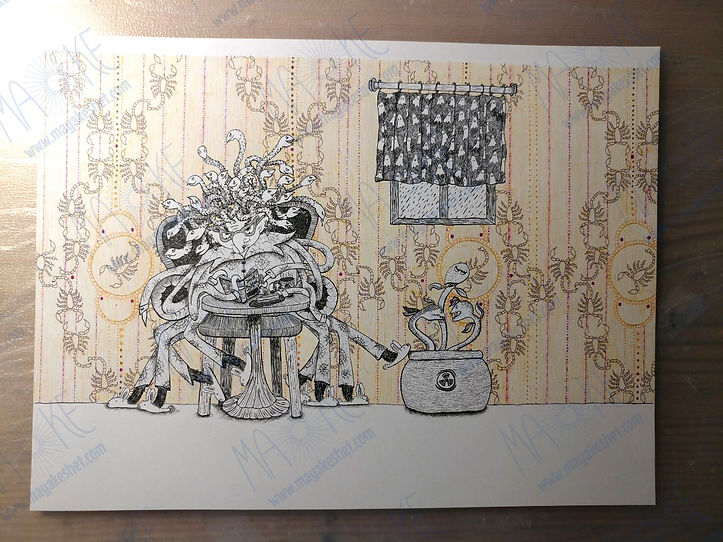
I would like to dedicate this blog to a drawing I did which I call “Miss Fear on a Sunday Morning.” It is a relatively detailed drawing, and I did it all on a single sheet of paper, which meant I had to have a plan and work carefully throughout the different stages so as to not ruin the parts I’d already worked on. Hopefully, seeing how I created this drawing may give you some insights for your own work process.

The Idea
I recently went on a trip to Florence, where I visited the Uffizi gallery. As part of their extensive collection, they have a few paintings by Caravaggio. Some of them depict violent and bloody scenes, and it was hard not to notice the reactions of the children who visited the gallery that day as they entered the room and saw the gory scenes. They seemed to be almost mesmerized and paralyzed by fear. I thought to myself that it would be nice to make fear itself into a character, and have that character sitting down peacefully on a Sunday morning with a hot cup of tea and a slice of cake while quietly reading a book. Fear might be a bit less scary if it had a face, I thought to myself.
The Character
Whenever we come up with a new character, we need to give some thought to exactly who they are. Then our goal is to communicate their characteristics clearly to the viewer. This can be done by the way we decide to design the character itself, as well as by the design of its environment, which can complement the character’s personality and add more information..
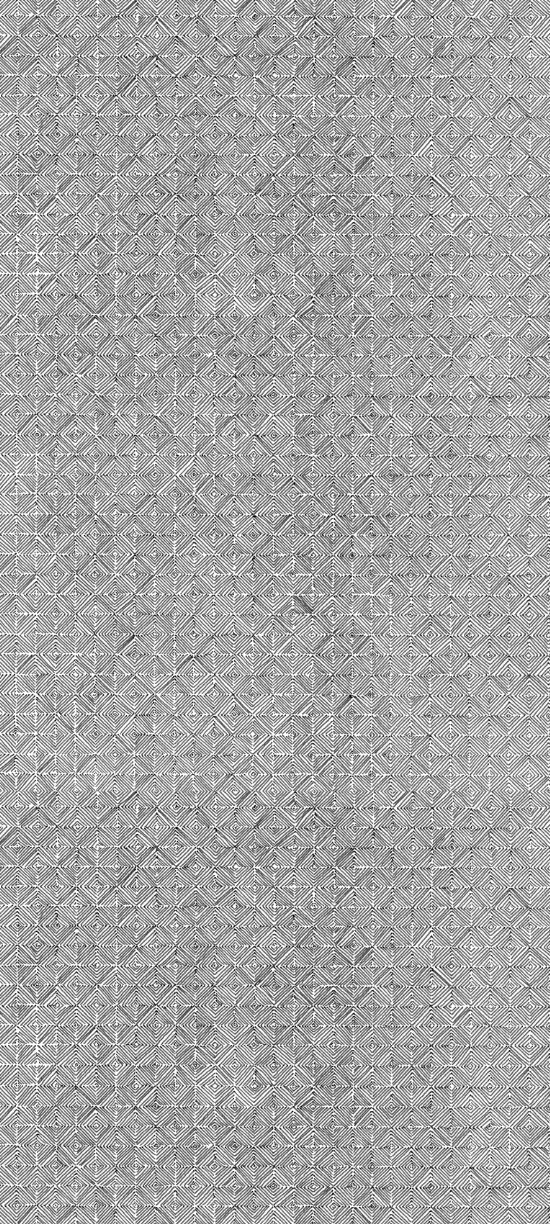
I decided Miss Fear should be an elderly lady who likes her home and her routine and values her comfort. Still, she needed to be a bit scary, given that she is, after all, the embodiment of fear itself. And she needed to be sensible but not approachable, almost familiar yet frightening, and slightly creepy (just for fun). Like fear, she had to remain mysterious, but if you met her she would be reasonable and open to a conversation over a cup of tea. And so, you can see why she had to have wallpaper, and why I designed it with scorpions as the main motif.
Getting the Right Information
The internet is an unlimited source of information. It’s worth making it a habit to use it whenever possible and you’ll never need to worry about how many legs a scorpion has, or where exactly the claws are located. This is, of course, true for any visual image your drawing requires. The right information should be your starting point for the proportions, scales, and anatomy of different species, as well as any other details you need. I chose 2 scorpions and placed them in different positions and compositions, using a lightboard, to create a repetitive pattern for my wallpaper.

Thumbnails and Sketches
A detailed drawing can take a long time to complete and typically involves a lot of work and decisions. So it makes sense to plan ahead. Use thumbnails – quick small doodles – to try out different compositions and options for your scene before you start drawing. Thumbnails are a wonderful tool that enables you to explore the possibilities. Maybe the character should be in part out of the frame so not all of it is seen? What should be in front and what belongs in the back? And what area would serve best as a focal point?
Thumbnails are made quickly, just to try things out before we commit to our composition. Once we have a plan, it is helpful to sketch a little bit in order to fill in the details. You don’t have to sketch the entire scene. The idea is to play with your options for the details. Should the character wear a hat? If so, what kind of hat would work best? What elements can be used to tell the viewer more about the character? While sketching, you’ll very often get more ideas, and a clear view of what your character and its environment should look like.
When I started sketching, Miss Fear didn’t have her bunny slippers, for example, and there would be no potted plant in the drawing if I hadn’t used thumbnails to try out different elements that would fit into her home.
Penciling
If you plan to use non-erasable media such as ink, it’s best to lay out the drawing in pencil first. Personally, I prefer to simply use HB pencils, as softer pencils (B) may smear and harder pencils (H) may leave marks when you erase them, or even scratch the paper.
When penciling, consider not going into each and every detail. This will leave room for your drawing to develop more when inking later on. The penciling will still be there as a helpful guide even if you leave some details unfinished, and chances are that you’ll enjoy the inking stage much more with a bit of freedom for decision making and problem-solving as your drawing unfolds. When penciling “Miss Fear” I didn’t go into the details of the texture of the scales of the snakes on her head, for example. I decided to add this bit while inking.

Take it Step by Step
Whenever you’re working on a detailed drawing, especially when you’re using multiple media, it helps to have an idea of the stages required. If you work patiently through the stages you set in advance, you’ll have better control over the progress of your drawing and the end result.
With “Miss Fear” I wanted to draw everything on one sheet of paper rather than assemble different parts using digital software. So these are the stages I planned.
-
I started by designing the pattern for the wallpaper, and then set it aside for later.
-
Then I drew Miss Fear and the other elements in the room using a pencil. As I mentioned above, I intentionally didn’t go into all the tiny details just yet, in order to leave myself some freedom when inking later on.
-
Using a pencil, I added a grid around the elements, to help with the placing of the wallpaper on the wall behind. Using the scorpion pattern I had designed and a lightboard, and with the grid as a guide, I placed the pattern and traced it with a pencil repeating the process again and again until the wall was covered with the wallpaper.
-
Next, I went over the penciled wallpaper pattern in color using simple colored pens. I then went over the pattern once again, this time with a sharp edge eraser not only to erase the pencil marks, but also to create a somewhat smeared effect so that the wallpaper would look a bit worn. To achieve this effect, I used the eraser when the ink was almost, but not completely, dry.
-
Now it was time for inking. I used black ink with a dip pen, multiliner, and a black brush pen on the character and other details in the room. In order to protect the wallpaper, which was already finished, I placed an additional sheet of thick paper over the drawing. I put the 2 layers of paper over my lightboard, and loosely marked an area around each of the penciled elements I was planning to go over in ink.
I then cut out the marked area from the white paper, and positioned it again on top of my original sheet and taped the two layers of thick drawing paper together. The wallpaper was now protected, and the areas in pencil remained exposed and ready for inking.
-
Finally, when I finished inking and the black ink was dry, I removed the protective layer and erased the remaining pencil marks.

“Miss Fear on a Sunday Morning” is an example of a detailed drawing done in multiple steps. The key lies in planning ahead, while leaving room for the drawing to develop as you go.
This is no need to be afraid of taking on challenges when drawing. When fear creeps in, remember this: even Miss Fear herself takes time off now and again to enjoy a hot cup of tea, a slice of cake, and a good book. Especially on Sundays.
I hope you found this description of my work process helpful for your own. Thank you for your time and attention. I wish you happy drawing.

© 2024 by Maya Keshet . Read our terms of use and privacy policy